Hello, everyone! I’m really excited to showcase my first major clothes refashioning here on The Cheerful Times blog. I’ve been working on it all Labor Day weekend, mostly because I have very limited sewing knowledge, supplies, and no sewing machine. At least hand-sewing everything gave me something to occupy my time with! Anyway, let’s get started–not just with the refashion, but with my extremely convoluted sewing journey.
The past few months I’ve really wanted to get in touch with my crafty side again. I absolutely love thrift shopping, and following The Refashionista‘s blog inspired me to refine my sewing skills and turn things from crap to cute (sorry for stealing your line, Jenny Grumbles).
I picked up this little number from The Hospice Community Thrift Shop, a secondhand store that benefits hospice care, while I was on vacation this summer in Hilton Head, SC. I paid a whole 50 cents for it!
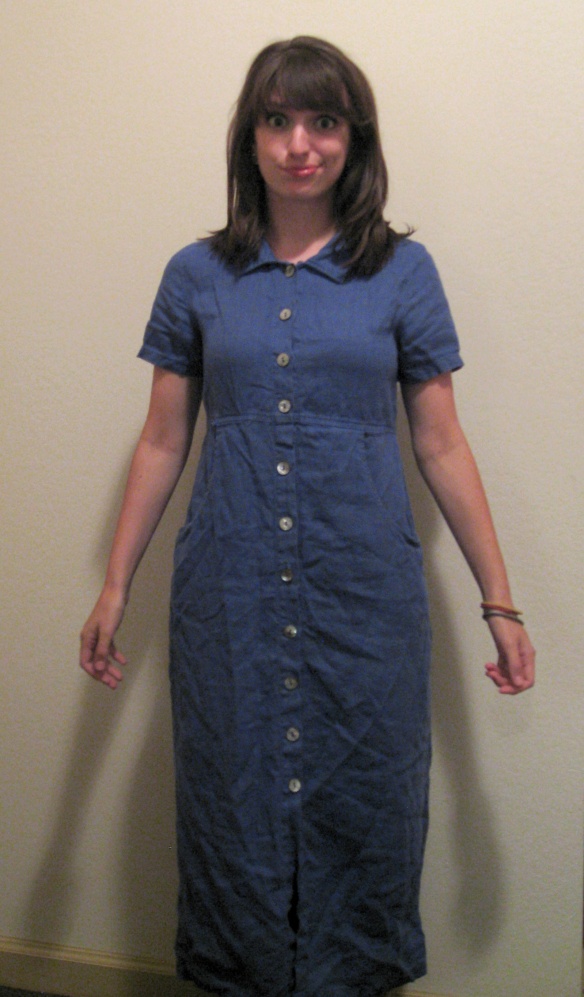
I’ve seen some dresses featuring collars, short sleeves, buttons, pockets, and cute little tied belts recently in stores, and I’m always drawn to them. However, my proportions and these dresses’ proportions are rarely on the same page, leaving me sad and empty handed. When I saw that dress on the rack, a refashioning vision of this nature came to mind that I couldn’t shake. Although, sadly, I knew I probably had to cut out the pockets and stitch them closed due to the extreme volume they added to my hips, I was excited to finally own the type of dress I’ve been trying to buy for much more money.
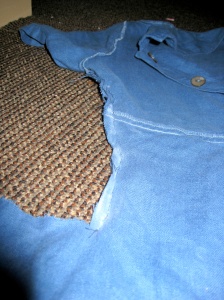
My first step was to chop off dat length. I’ve never hemmed a single thing in my life, so I prepared myself for a lot of guess and check. I threw the dress on once more, eyeballed it in the mirror, started pulling the bottom of the dress upwards to mock a shortened length, threw the dress off, laid it down inside out, and chalked a dotted line with the aid of my handy dandy ruler. As much as my impatience made me want to chop it off and be done with it, I didn’t want to ruin my first major refashion. Because I don’t own sewing equipment (including the ever-helpful pins), I broke into my college stash of standard safety pins to temporarily hold up the bottom.
After turning the dress right side out, putting it on, and looking in the mirror again, I concluded that around a foot of length was the right amount to take off. Feeling liberated, I cut along my chalk line. My dress looked insanely better already, but after my snip-snipping, the material instantly started fraying. I was trying to avoid hand-sewing a hem on top of everything else, so I left it for later.
My next step was to take in those awfully unshapely sides. Since I don’t have a dress form (or the patience to take my own measurements and figure out how to transfer that onto a garment), I also eyeballed that by putting on the dress and grabbing at my sides. Knowing, for some reason, that my thumbs are a little over two inches long, I was able to make estimates on how much needed to be taken in on certain parts of the dress. Using my chalk and ruler, I dotted lines and connected lines, then safety pinned my proposed alterations to the inside of my dress.

After putting on the pinned dress AGAIN and determining my markings were correct, it was finally sewing time!
Or was it?
There are few things more frustrating than realizing, mid-project, as you’re steamrolling through, that your tiny stash of needles and thread did not make it back to college with you.
#@*$!
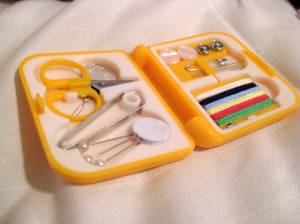
At the store, I was suddenly confronted with how little I knew about sewing. Can you believe how many different types of scissors there are just to cut fabric?! What’s the difference between a regular needle and a craft needle? How many pins are enough pins? Are thimbles still practical things or were those just for wise grandmothers in fairy tales? I thought all I needed was a tiny plastic sewing kit I found for 75 cents at the front of the store. Instead, after an hour in the sewing aisle staring blankly at the wall, picking things up, putting things down, walking in circles, and whimpering, I emerged with the following:
- 12 pack of thread in a variety of colors (came with three needles and a threader)
- 200 pack of colored ball pins (peace out, safety pins)
- 120 inch measuring tape
- No-sew hemming tape (take THAT, you fraying hem! You can’t make me hand-sew you!)
- Floral wrapping paper, on sale for 75 cents, to create a backdrop for my “after” photos
- Aaaaand the tiny plastic 75 cent sewing kit (came with tiny thread, three needles, tiny safety pin, two buttons, snaps, three pearly pins, tiny tweezers, tiny scissors, and a threader)
Don’t worry… this wasn’t all for this project! I plan on doing more in the future, and needed to stock up. So, how did I do with my first sewing shopping trip? Did I miss anything that I should have in my sewing starter kit?
Anyway, now armed with what I believed to be the necessary items, I finally finished the job. I back-stitched my heart out along my chalked sides (one of three stitches I know how to do thanks to Girl Scouts, although I was under the impression it was called a “chain stitch” until I googled it just now), and chopped off the extra fabric.
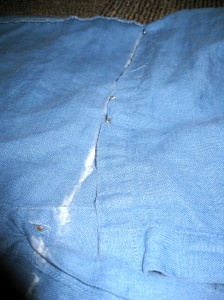
To my surprise, I found that I could make the pockets more manageable by stitching them down with the newly taken in sides. This, thankfully, made them flatter against my body AND still functional. The pockets (and my hips’ self-esteem) are salvaged!
Also to my surprise, I heard a *crunch* under my knee as I leaned forward while sewing on the floor.
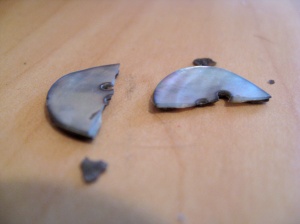
Luckily I had an extra button sacrificed with the shortened hem. I delightedly used it as a replacement.
Borrowing my roommate’s iron, I used the no-sew hemming tape to finally finish off the hem. Next the iron was used on the sleeves to create a more modern length. I rolled them up two times over, pressing creases with each roll for added reinforcement.
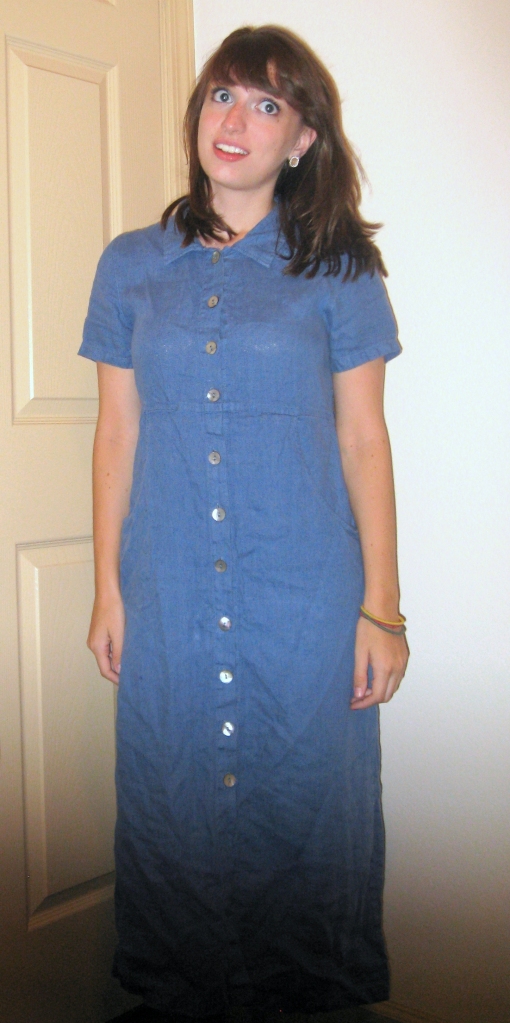
My dress was finally done!

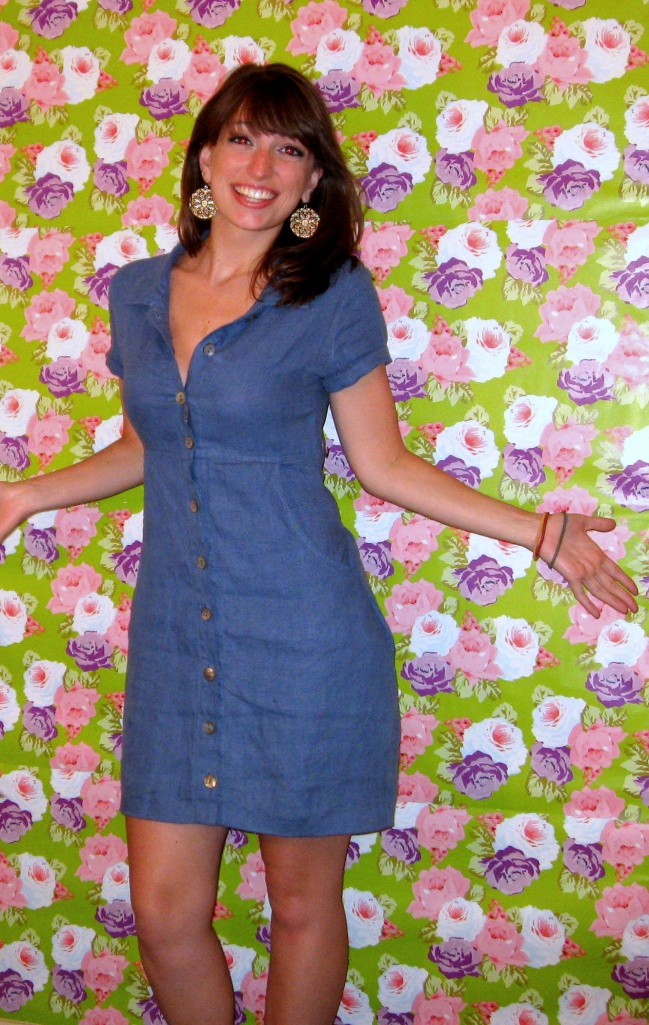
Accompanied with my signature red hair bow, my new dress is a little too Rosie the Riveter…
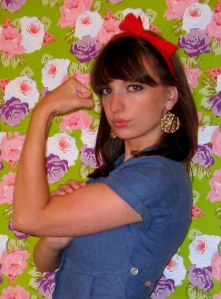
But who cares when I get to keep my pockets?!

BUT WE’RE NOT DONE YET!
In order to complete my original vision, I needed to create a cute, casual belt that ties around my waist. The one I’ve been mentally picturing was thin, almost drawstring-like, and white in color.
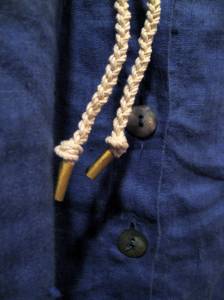
I braided rope from the hardware store, knotting at each end to avoid fraying. I wanted the tips of the rope belt to have a finished look with those metal thingies at the end, but where do you even get those? Instead, I wrapped the rope with gold washi tape that Whimseybox sent me for free during one of the company’s promotions.
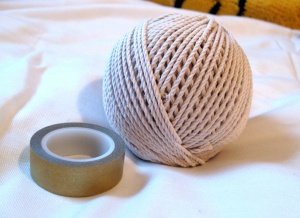
The washi tape created the same effect that metal thingies do!
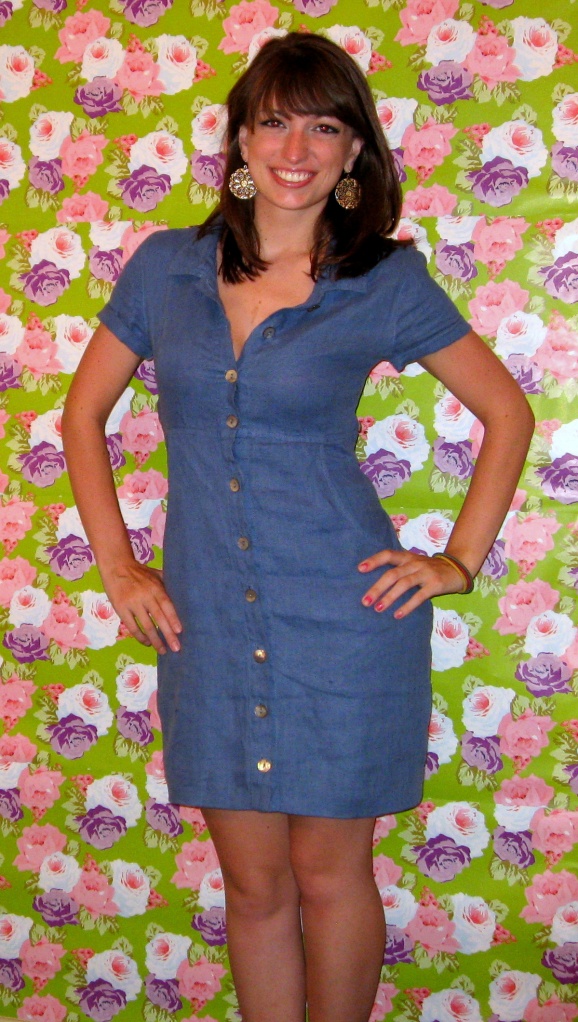
NOW everything was complete! In typical Refashionista style, here is my completed look in action:


Not bad for a first refashion on a 50 cent dress, right? I have to say I’m pretty proud of myself.

Valuable Things I Learned from My First Major Sewing Project/Refashion:
- Chalk is your best friend. It’s just so easy to use.
- Make sure you have all necessary items before you start your project. You will end up sad when you’re on a roll and realize, that, I don’t know, your sewing kit is not in this state.
- Always test your iron on your clothing scraps before you use it, and always use lower settings–regardless of which levels your iron claims are for which fabrics. Some irons are possessed by demons and don’t follow the rules.
- When braiding a rope belt, the end result will be a lot shorter than the originally cut pieces (ten inches shorter, in my case). To avoid having to make it all over again like I had to, cut a lot more than you think you’ll need!
- Michael’s doesn’t sell rope. Anyone else think that’s weird?
Please comment with other tips you have for beginners like me! I would love to hear what you’ve learned from all the experience you have that I don’t yet, as well as feedback on my first major refashion.
Thanks for reading!
Kelsey

so cute!
LikeLike
Thanks so much, Kate! I’m glad you like it! 🙂
LikeLike
Kate if you think you are going to be a regular refashionista come and join us on Facebook Group Melton Bowerbirds. We are a group of avid upcyclers and some of us, like me refashion garments. You will be inspired and can inspire us too. You have refashioned this beautifully and have learnt a lot along the way. Well done.
LikeLike
Hi Karen! Thanks so much, and thanks for the invite. I’ll check it out! I love upcycling too… it’s so fun to see what unexpected things you can make from the most unassuming items. Thanks for reading!
LikeLike
This is such a great example of 50 cents put to good use! Would you like to participate in my 27 dresses project?
Let me know,
Zhenya
http://beingzhenya.com
LikeLike
Thanks so much, Zhenya! And ooh, thanks for inviting me to participate–could you tell me more about it?
LikeLike
I love it! You did such a wonderful job. I am not a fan of jean dresses, but I would totally wear your refashioned one. Good job on your first project.
LikeLike
Thanks so much!! I know, I never thought until recently that I’d wear a dress like that either. I guess it’s good to try new things 🙂 I’m glad you liked it!
LikeLike
LOVE the end result, you look adorable! Great work lady!
LikeLike
Thank you so much!! I’m glad you like it 🙂
LikeLike
Dress is super cute on you! Love it that you managed to keep the pockets. I love pockets – so functional. Kudos on the hand sewing and persistence! The braided belt really made the look pop. Have you tried crochet? You can control the length better because you snip the yarn after you get to the right length. All you need – a ball of yarn in your fave color and a crochet needle.
LikeLike
Thank you so much! And yes–I LOVE pockets! A lot of pants nowadays give you these shallow little pouches an inch deep and call them pockets… so not functional or appreciated. Where am I supposed to keep my things when I don’t have a purse on me? No, I’ve never tried crochet but I’ll certainly look into it! Thanks for the tips and feedback 🙂
LikeLike
Very nice refashion and it looks really great on you! Congrats! =)
LikeLike
Thanks so much!
LikeLike